
5 Tips for Mending
We’ve all been there. Our favourite knit has a hole. Emotions mount as we prepare to say goodbye to one of our wardrobe staples. What are we going to do now?
“Don’t panic!” says Flora Collingwood-Norris, a knitwear designer, author and visible mender based in Galashiels in the Scottish Borders. “Almost anything can be repaired, it just requires some time and effort.”
Picking up a needle and thread to fix a hole is seldom considered anyone’s favourite pastime, but repairing a beloved garment can be extremely gratifying.
“You can choose to see the holes as a creative opportunity,” adds Flora. For her, mending is a natural part of the knitwear’s life cycle. Visible mending is repairwork that is deliberately made visible: the repair is turned into a feature of the fabric using brightly coloured or contrasting threads and patches. “It is a way of embracing the aging process of your knits, and a way of updating them to feel like a new design.”
Mending is also an environmentally friendly option, and making repairs visible is a demonstration of your values. “The more we see mended garments out in the public, the more it encourages people to do it themselves,” says Veera Jussila, a Finnish designer and a sustainable knitter, known for her Käsityökekkerit blog.
Let’s make mending part of our knitwear’s care routine — here are Flora and Veera’s top tips.
1. Find the right materials
Take a moment to think about the material in your knit. The usual rule of thumb is to use the same fibre and weight of yarn as the original: if it’s a fine knit, don’t use a thick yarn, and if it’s a chunky knit, vice versa. Also, if you want to make the fix invisible, choose the same or a similar colour. But if you want to make your fixes colourful and personal, go big, and go bold.
“I think the more colourful and decorative the better. It’s something to have fun with, rather than making it a chore,” Flora explains enthusiastically.
2. Grab your tools
Mending is a low-cost way to maintain your garments. No need for expensive gadgets or trinkets: all you need is a needle, some thread or yarn and a pair of scissors.
“I like to use a blunt-tip needle and a darning mushroom — or even something like a tennis ball works, but you might not even need one,” adds Veera.
3. Explore techniques online
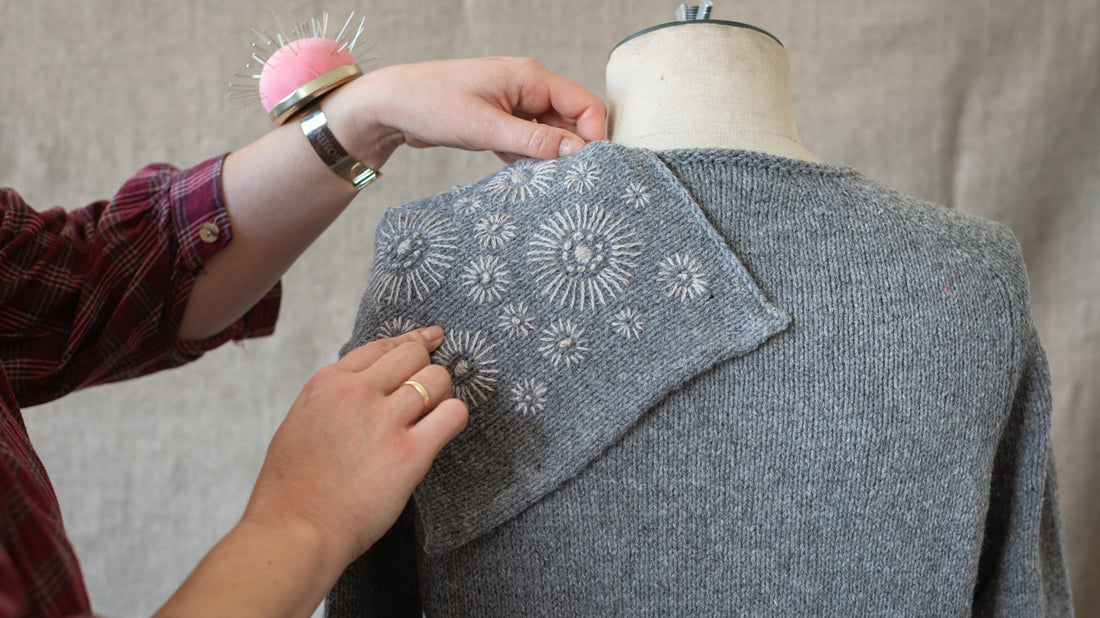
For stitches and techniques, there are many to choose from: darning, Swiss darning, running stitch, blanket stitch, felting, using a knitted patch... Darning from the front will make the fix more visible, and darning from the back will give it a more subtle look. Flora points out that the great thing about mending is that you can play to your strengths and use the techniques you already know, such as crochet, embroidery, knitting or darning.
4. Take time to practise
Usually, it’s lack of confidence and practice that prevents us from tackling tasks such as mending. But the more you practise, the easier it is to get things such as tension right. Handily, darning is a very repetitive action, so you get a lot of practice every time you mend a hole.
“Whether you make your fix fun and bright, or more subtle and neutral, you have to be happy wearing it. If you are excited about the garment and the outcome, the more likely it is you are going to mend it.” Veera explains.
5. Choose your battles
Everything is mendable — to an extent! It just depends on how much time you are willing to devote to it. It’s worth remembering that if the damage has been caused by wear and tear, it is likely to need more repairs in the future, so factor that in too.
“If a garment is extremely threadbare over large areas, maybe it’s not the best use of your time to repair it. Or maybe it will be a really epic project,” Flora encourages.
More mending tips:
Embroidery on Knits by Judit Gummlich
5 Tips for Embroidery Beginners
Visible Creative Mending by Flora Collingwood-Norris
Käsityökekkerit Blog by Veera Jussila (in Finnish)
Text: Päivi Kankaro
Picture: Simone Hawlisch | Embroidery on Knits by Judit Gummlich
This feature was first published in Laine issue 18.
